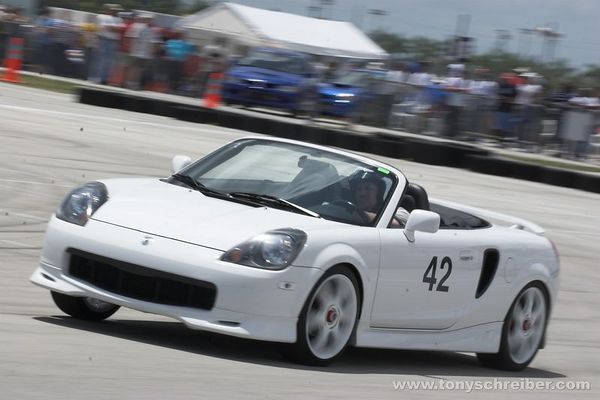
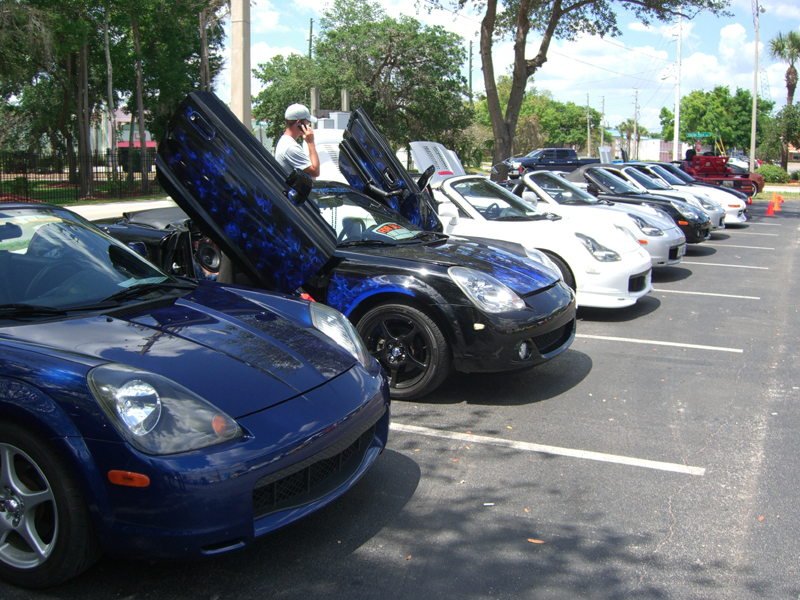
It all started a few months ago or so. I was strolling through the for sale thread and noticed someone selling a used Power Enterprise turbo kit for a pretty cheap price. It had everything the kit comes with. Plus I was able to get the modified fuel pump piece so that was 1 less step I would have to do. In addition to all the turbo goodness, I also bought a Moroso Oil Pan from the same guy.
Now with a turbo on the way, I noticed AuburnSpyder was doing another round of his oil coolers. So I bought one of those too.
And wouldn’t you know it, I was just in time to actually need the awesome cubby pot from Gregg. So I bought that too.
Now I needed to fill the 3 gauge holes. I hunted like crazy for deals and I got them via eBay. All gauges were new but were cheaper than I could find anywhere else. I went with AutoPower Phantom gauges because they seemed to go with my stock gauges the best out of what I had seen. I got a Boost and Oil Temp gauge (Both electric). Then I broke down and bought the expensive but super cool XD-16 AFR gauge. I looked and looked but innovate only sells some cheap needle one and this awesome one unless you want just a digital display. I’m glad I went with the expensive one because it looks cool as hell and I would have been kicking myself for not getting it.
I already had a PFC and have been using CoPilot for a while now. And I already had an LC-1 WB-O2 sensor. I was running the JNZ Down pipe with a bung for my WB-O2. I had to do some other things before I could install the turbo though. When the pieces came in, I realized that I couldn’t use the turbo outlet pipe as it was. The previous owner had modified it to work with a custom exhaust that exited in the center of the car (Like a cyclops exhaust or something like that). He told me that he had modified it, but I thought maybe I could salvage something. That wasn’t the case. So I called Power Enterprise and they ordered me a new pipe from japan and new gaskets for a little over $500.00. Ouch! But the pipe that came in was a REAL nice piece of work. Very well done.
Nick, aka: boardernr, lives down by me now. So he offered to come over and help out with the install and the tuning. I took him up on this fantastic offer. Before the install, he came over a few times to hang out and I showed him the turbo. He noticed that the oil return line that the kit comes with is crap. It’s rubber and mine was already cracking. So we went to the hydraulics supply store had a custom braided hose made as some other fittings. I tried to get some banjo fittings or something that will get water to the turbo, but they didn’t have anything there. Of course, while we were there, some guy gives me the “That’s a pretty small turbo, isn’t it?” line. haha. Anyway, now I had my snazzy new hose and outlet pipe and what I thought were all the parts. I also ordered a bunch of T-Bolt clamps instead of the cheap worm clamps that the kit comes with on Nick’s recommendation.
I decided to install the Moroso pan and the oil cooler the weekend prior to the turbo install. Let me just start by saying that taking an oil pan off is NOT a quick job. And then with all the scraping and having oil drip on me… that wasn’t fun. But after quite a few hours of hard work and cursing, I got everything all cleaned up and ready for the new pan. Nick let me borrow some of the Toyota gasket maker stuff (The black stuff). I got the new pan on with relative ease. I read a lot of posts by others on here about what to expect and what techniques to use. That helped out a lot.
The oil cooler was pretty straight forward, but with clearances in the engine bay, it was a PITA to get it lined up and bolted in place. I put a bung plug in place for the oil return. And I hooked up the oil temp sender to the Moroso pan. Man, I can’t say enough how f-ing sweet that oil pan is. …
Anyway I got that all bolted up and ran the wire up to my gauge pod. The cubby pod install was pretty easy. I still need to modify mine a little because it doesn’t sit right. But I didn’t really listen to the directions and put my gauges in and wired everything up before test fitting and making adjustments then. what a concept, right? So now, I need to just take the time to unplug my gauges and get it to fit right. It still looks sexy though.
So with all of this hooked up, I started up the car and let it run for a while. No leaks (Except for a small one where the bung plug was. This didn't concern me because I would be removing that in a week anyway. I drove for a week as a poser with a boost gauge that just sat at 0. haha. In that time, I also found out that I couldn’t just use an eBay 2.5mm extension cable to run the LC-1 serial out to the XD-16. The *massive* 4′ cable the kit comes with was not long enough. So I called Innovate and they said that the plugs in their cable are proprietary and that I couldn’t do what I tried. I would have to lengthen the cable myself. So I cut the cable in the middle, braided some wire, did the solder and shrink tube thing and lengthened that stinking cable! I had to reset my LC-1 because just using the extension cable I tried caused its setting to be changed from gasoline to something else completely different.
Turbo Install day…
A friend of mine came down to help out with the install and drink my beer. I cut my middle finger on the razor sharp fuel tank access plate. Great f-ing way to start the day of a long install. It’s a good thing I have all my .pdf files from techinfo.toyota.com. I got the info I needed to get the fuel pump out and swapped my stock part with the modified one that I got with all my turbo goodies. This took quite a bit of time. Probably one of the longest parts of the install. And I didn’t have to modify anything! Nick showed up shortly after we got the pump back in.
After looking at the components some more, he noticed that we needed some “T”s for the vacuum line taps as well as some caps. So off to Discount Autoparts we went… A turbo install is pretty much just like doing a header swap and intake swap with a few other bits here and there. I drained my week old Mobil 1. We got started hooking everything up. My friend, Hansen, was the under-side guy. and would work on some things while I went with Nick to the parts store (we went more than once). Everything went together pretty good. But I still have a small leak around the sandwich plate that I’ll get to when I change the oil next.
After driving it for a little bit, I realized that I wired up my gauges wrong. My boost gauge has to be wired to a power source that comes on with the key, but doesn’t lose power when the car is being started like the accessories. So I re-wired all those and my boost values started making more sense. You really notice the extra power. And it’s not like in larger turbos where you kind of bog for a while then a huge surge of power hits you. It’s just more powerful all the way through!
I would later come to realize that my spark plugs were total crap. #4 was completely DONE, and #2 would crap out after the car warmed up. So I got me some new plugs and the car suddenly had some balls! I really got lucky that all I needed was plugs. Some of you may remember my cry for help thread a little while ago. After some logging with CoPilot, I noticed that while I didn’t have much knock at all, I was maxing out my injectors. I didn’t want to buy bigger injectors. I just spend TONS of time doing all this other work. So I talked with Nick about what my options would be. Air-to-Air Intercoolers seem pretty pointless on our cars since there’s no good place to put one. I could maybe to an air-to-water, but the charge pipe for the PE kit doesn’t really seem to be able to be cut and modified easily for that. The diameter changes a LOT on it.
So that left the option of a Boost Cooler. I ordered the Snow Performance boost cooler kit from a guy on a Subaru forum (NASIOC) for cheaper than I could find it anywhere else. I got the low level indicator piece too. Safety first ya know.
I needed to make something to hold the indicator lights so I wouldn’t be mutilating any stock dash pieces. I found something in an unlikely place. I was in GameStop and noticed a DVD remote for XBOX. The remote would be too big, but the piece that plugs into the XBOX was a GREAT size!
Here’s what I came up with:
This install required the removal of my rear bumper cover and even yet still more wiring. This install was pretty quick though, considering. I followed the instructions and it was simple. The difficult part was finding where to mount things. Nick has the same kit so I was able to see where his reservoir and pump were. That helped out. Here’s some pics of Where I mounted my stuff:
Snow Performance Controller:
Indicator Lights from driver’s view:
Here is where I mounted the pump and reservoir:
Where the wires and fluid line come out:
Here’s what the reservoir looks like with the bumper back on (pretty stealth, huh?):
Here’s the Spray Nozzle (I went with the 175ml/min):
Now, you might be wondering about the thread title I posted on SpyderChat… “Crystal Meth”? You might think I’m making a huge stretch here with the Methanol abbreviated name that I’m injecting. But Here’s where it all comes together:
I’m mixing 50/50 Distilled water and Methanol. The brand just happens to be Crystal springs.
After adding the meth injection, I’m pulling some serious power now. I’m running DEEP into the load cells (2nd from the bottom) when I log with CoPilot. And I’m making about 190WHP according to CoPilot. It seems a little odd though since after tweaking some more things, I got to a deeper load row, but the HP it’s showing isn’t really increasing. These were all 3rd Gear Pulls. I’m going to check it out on a real dyno sometime in the near future. But until then, I’m just going to enjoy the awesome feeling the butt-dyno gives. This is how fast the car should have always been.
So that’s my story and I’m sticking to it!


![MorosoOilPan_01[1]](https://www.mr2ner.com/wp-content/uploads/2014/05/MorosoOilPan_011.jpg)
![OilCooler_01[1]](https://www.mr2ner.com/wp-content/uploads/2014/05/OilCooler_011.jpg)
![CubbyPod_empty_01[1]](https://www.mr2ner.com/wp-content/uploads/2014/05/CubbyPod_empty_011.jpg)
![CubbyPod_full_01[1]](https://www.mr2ner.com/wp-content/uploads/2014/05/CubbyPod_full_011.jpg)
![Turbo_Installed_TopView_01[1]](https://www.mr2ner.com/wp-content/uploads/2014/05/Turbo_Installed_TopView_011.jpg)
![PE_Installed_01[1]](https://www.mr2ner.com/wp-content/uploads/2014/05/PE_Installed_011.jpg)
![MethKit_parts[1]](https://www.mr2ner.com/wp-content/uploads/2014/05/MethKit_parts1.jpg)
![MethLights_3[1]](https://www.mr2ner.com/wp-content/uploads/2014/05/MethLights_31.jpg)
![MethController_Installed_1[1]](https://www.mr2ner.com/wp-content/uploads/2014/05/MethController_Installed_11.jpg)
![Gauges-n-Lights[1]](https://www.mr2ner.com/wp-content/uploads/2014/05/Gauges-n-Lights1.jpg)
![Meth_Reservoir-n-Pump_Installed_1[1]](https://www.mr2ner.com/wp-content/uploads/2014/05/Meth_Reservoir-n-Pump_Installed_11.jpg)
![Meth_Lines_Installed_1[1]](https://www.mr2ner.com/wp-content/uploads/2014/05/Meth_Lines_Installed_11.jpg)
![Meth_Reservoir_Installed_1[1]](https://www.mr2ner.com/wp-content/uploads/2014/05/Meth_Reservoir_Installed_11.jpg)
![Meth_Nozzle_Installed_1[1]](https://www.mr2ner.com/wp-content/uploads/2014/05/Meth_Nozzle_Installed_11.jpg)
![CrystalMethanol[1]](https://www.mr2ner.com/wp-content/uploads/2014/05/CrystalMethanol1.jpg)