


Well, I installed me some fancy HID’s on my car. Haters may make their “ricer” comments if they wish, but I like them so. 😛
I got the kit from the group buy in the commercial sales forum. The longest part of the install was deciding where to put the ballasts and starters. Well, for those that have bought the kits (or are going to buy them) and haven’t installed yet, you just caught a lucky break. I have pictures of where I mounted mine so it can save you the trouble when installing. The rest is *almost* plug and play.
NOTE: I have a 2001 model so some of what I’m going to tell you may not apply to you or may simply be wrong.
I removed the frunk lid. Then the plastic surround piece. Then I removed the frunk bucket too. It just let me work around easier and get things mounted in place when I would be able to with it there. Everything goes back in place just fine with my placement of the components.
First I disabled my DRL’s following the easy instructions on spydermagazine.com. I verified that they were disabled and then proceeded to do the HID kit install. I spent probably an hour or more looking around for just the right place to mount the pieces. The kit comes with some double sided tape and zip ties, but I wanted a secure mount for the ballasts. Well, I found just that mounting place. I used the double sided tape to mount the starters.
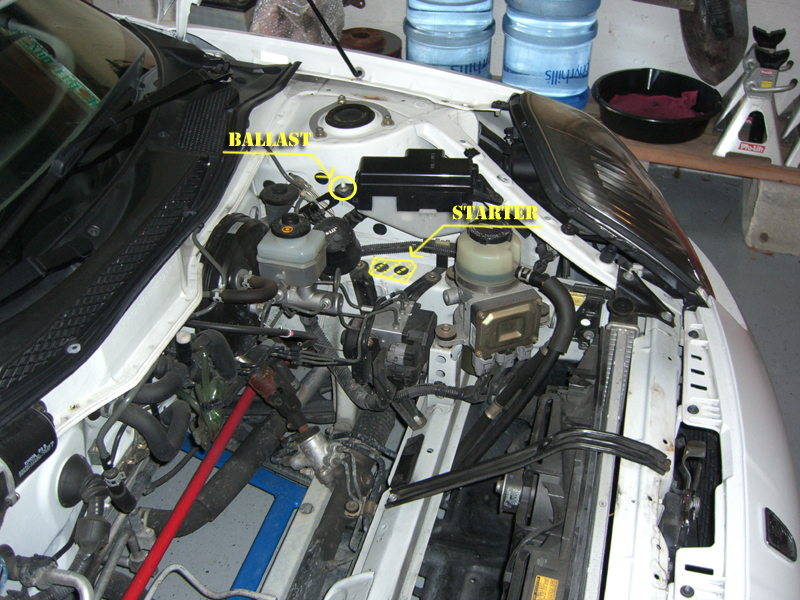
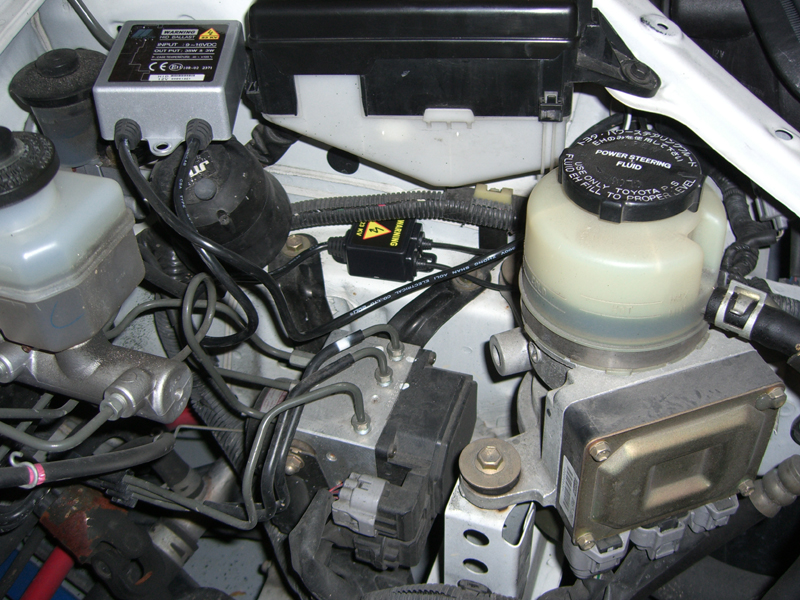
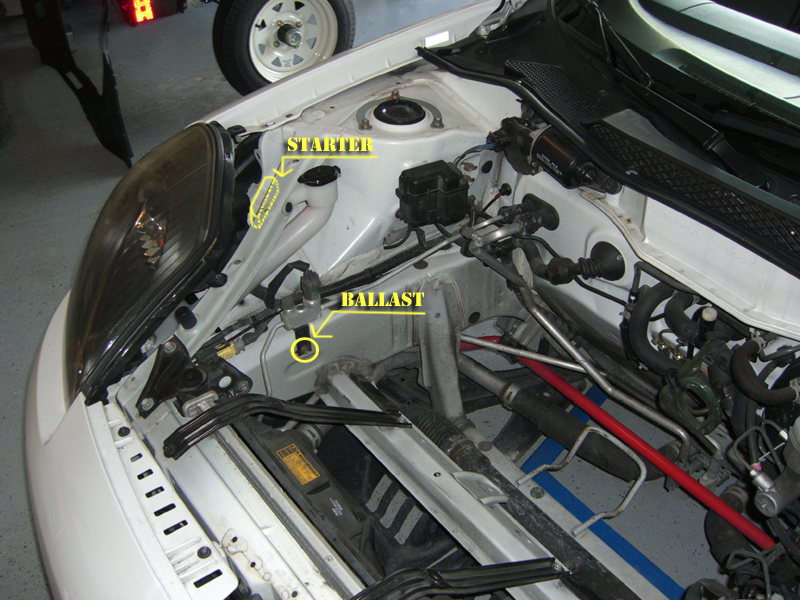
Here’s where I mounted everything:
Driver’s Side:
Passenger’s Side:
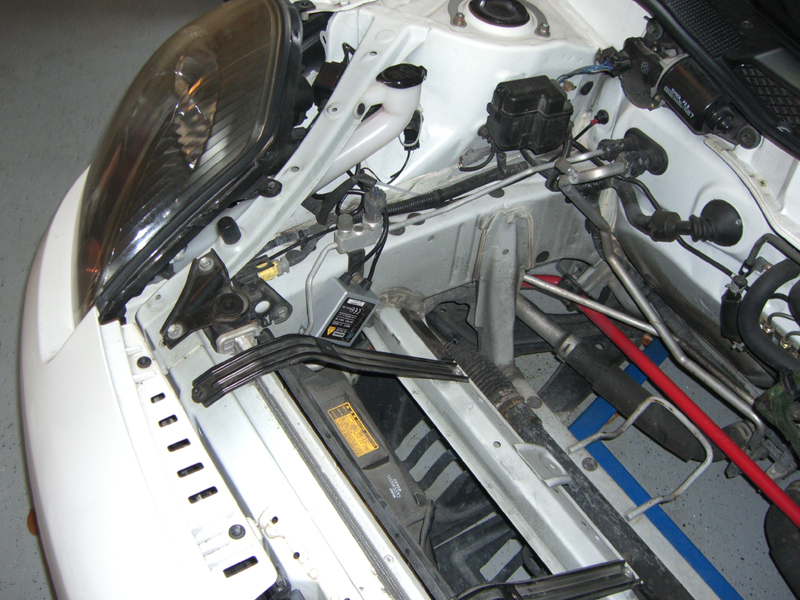
The bolt and nut used in mounting the ballasts were both 10mm. You’ll need a 10mm socket, 3/8″ drive socket and 3″ extender to get the frunk bucket out anyway. So you’ll have the tool out already.
With the pieces now in place, I disconnected the negative terminal from my battery and finished the “plug and play” part. Everything went in like you would expect If you plug a connector into the wrong receptacle, then you should take your car to someone else to have them do it for you.
Now with that said, there is 1 change you need to make. Once everything was all plugged in, I re-connected the battery terminal and checked out the lights. click, look, and …. only the driver’s side is on. CURSES!!!! I turned the lights off and checked all the connections. Tried again and still the same thing. So I get my multi-meter out and check for resistance in the H4 harness. Both sides had the same resistance measurement, but the polarity was reversed between them. Passenger side read +1 and the Driver’s side read -1. HUZZAH!!!! the problem was with the polarity. So I swapped the blades in the H4 plug for the passenger side HID connector. Tried the switch again, and they both work now. Yippee!!!!
Now to switch the blades, you need a really small flat head screw driver and carefully press on the little flap piece that keeps the blade from retracting when you plug it into the harness. pull the blade back through the connector and repeat for the other one. Now switch their positions and push the blades back in, making sure that little flap piece is out enough to keep the blade in place. Do this step before plugging in the passenger side.
If you have a newer model with the H7 bulbs, your wiring may be different, so you’re on your own. Buy a multi-meter.
I just installed these this morning and it’s still light outside so I haven’t checked the aiming or anything else yet. But I did want to get my write up done and posted. I will post my review of the luminescent properties of this kit after the sun goes down and I test them out.
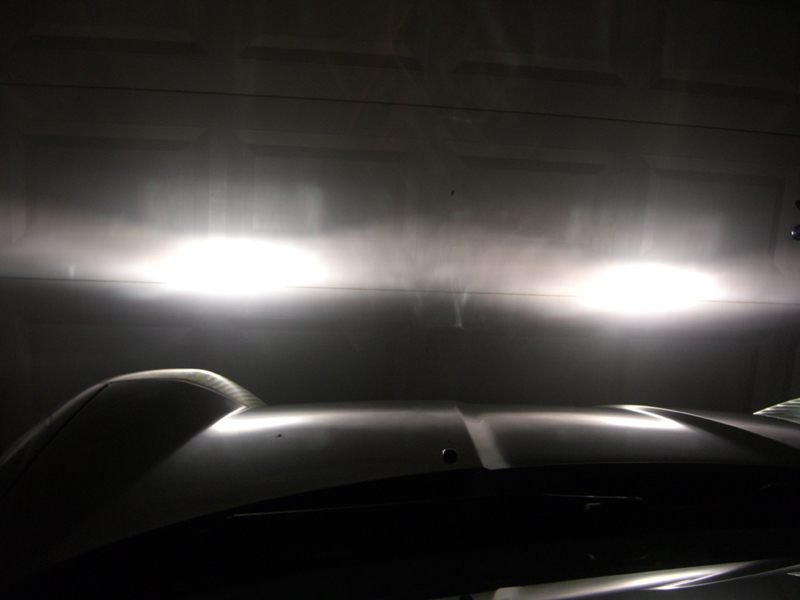
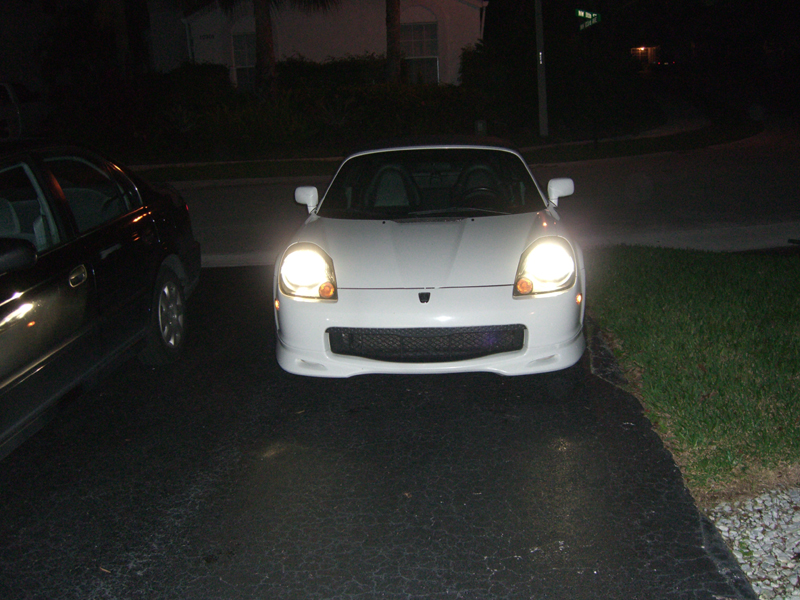
Here are some pics in the dark.
What you see when looking at the car with the lights on:
From towards the end of my driveway pointing at the garage door:
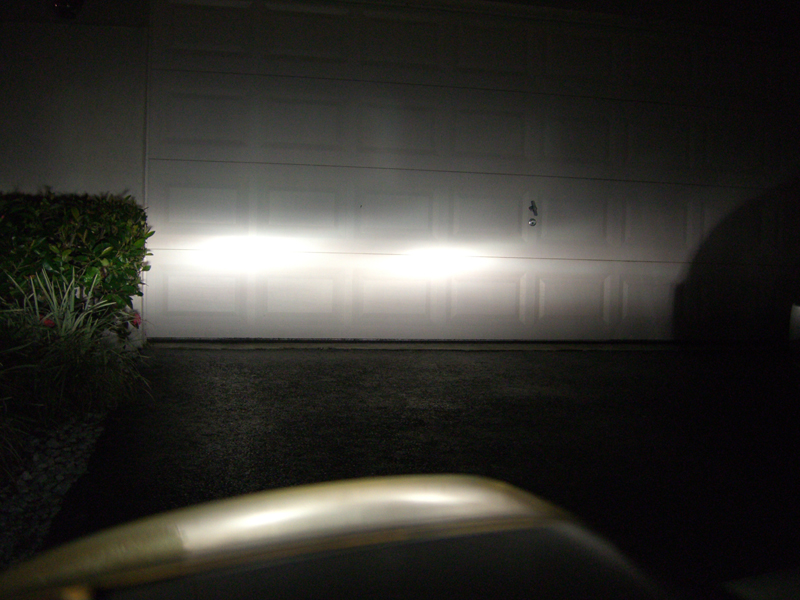
Close Up against the garage door: